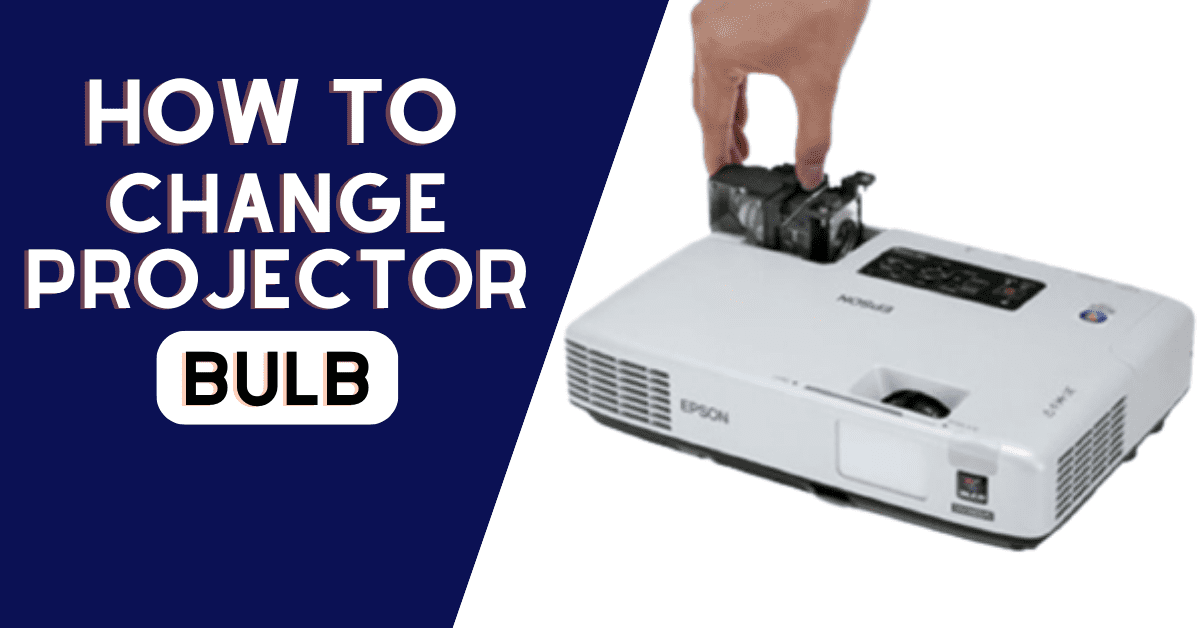
You are enjoying your projector on just another day when all of a sudden, you see the dreaded light warning sign informing you that it will soon be time to change the projector bulb. The high-pressure mercury and xenon used in projector lights cause bulbs to fade over time, unlike ordinary bulbs that go out once they are depleted.
It is time to change the lamp after its luminosity has decreased to roughly half what it was. You can learn how to change projector bulb by following a few easy steps, and you will soon be able to enjoy your projector like before.
When To Change Projector Bulb?

How would you know you need to change a projector bulb? When your projector bulb’s maximum life has been reached or is about to reach, it is time to replace it. Some of the indications are as follows:
- The lamp’s amber light is not as expected or is diminishing. Although the indicator light does not always mean you need to replace the bulb immediately, buying a spare can be a good idea.
- The projection’s color quality is poor than it used to be. It is likely that the bulb is no longer powerful enough to display accurate colors if the colors appear muddy.
- The projection’s image quality has decreased because it is not as functional as it used to be. It may be a sign that the bulb is failing if the projected picture is dull and faint.
- Sometimes, when a bulb malfunctions, the projected picture can flicker as well. It is like a bulb fusing.
These are some situations in which all types of projector lamps need to be changed.
Check out our 11 Best Projectors for Home – Ultimate Guide 2022 (April) and get yourself a high-performance projector.
8 Simple Steps – How To Change Projector Bulb?

Once you are sure you need to change your projector lamp, you have to perform the following steps. Note that this guide works with any type or model of projectors to increase their lamp life. So, let’s guide you through our step-by-step guide with proper instructions on how to change projector bulb yourself.
Step No. 1: Start With Unplugging
Safety comes first, so unplug the projector’s power supply and allow the lamp to cool. While replacing the light module, unplugging your power cord guarantees no energy flows through the apparatus.
You may hurt yourself if you left it plugged in and there was a power spike. Before attempting to remove the light, wait at least an hour.
Step No. 2: Get Yourself Ready
When your bulb has finished chilling, you can gather the essential equipment. To remove the panel, you need a manual screwdriver. A soft, non-abrasive cloth will also come in useful to assist prevent any touch between your fingers and the light assembly.
Another suggestion is to use a microfiber cleaning cloth. Turn the projector over to see the underside. A soft, flat surface, such as a blanket or towel spread out on a table, is recommended for placing the device.
Step No. 3: Remove Projector Assembly
Remove the screws and access panel from your projector’s lamp access panel or Lamp Assembly. Disconnect any power wires that might still be attached to the light assembly before carefully removing them. Please don’t mix it up with your new lamp; set it away. You might need to take the Lamp Compartment Door off in some circumstances.
The two screws holding the black case may be removed with a screwdriver. Keep in mind that the screws do not entirely clear. Although you may change the bulb in your lamp assembly, it is typically thought to be simpler to change the whole thing. If you replace the complete module, you can be more assured that you will replace it correctly.
Step No. 4: Fetch Lamp Housing
Reach into the projector and firmly pull the light housing out. Dust accumulates everywhere; therefore, when the projector is opened, use a soft cloth or microfiber cleaning cloth to remove any stray dust particles from the lamp chamber.
Pull the wires away from the pins gradually using tweezers. Use your screwdriver to remove the four screws on the rear of the light bulb case. Do not touch the lamp’s glass since hand oil can burn areas on the glass that will cause the lamp to break when heated. Clean the light module with a dry, clean cloth if you unintentionally contact it.
Step No. 5: Change Projector Bulb
In the same position that you removed the previous light from the projector, insert the new lamp housing. Slide the replacement lamp into the compartment in the same direction that the last lamp was removed.
Carefully reconnect any power wires to the new lamp, if any are present. The replacement light module will quickly and smoothly slip into position.
Make sure there is complete contact between the light and the projector as you wiggle it into place. When you replace the lamp, be careful not to contact the lamp assembly’s glass surface because doing so reduces the lamp’s lifespan.
Click Here to see if this projector bulb fits your projector model.
Step No. 6: Assemble Components
Replace the device’s components. Then, tighten the screws that are close to the light bulb. Reverse the actions you took before. Reinstall the wires and casings, tighten the screws, and shut the lid to secure the back panel.
The light compartment door should be reinstalled and screwed in firmly but not too tightly. Set the handle back in its original position on the cover, door, or assembly, and confirm that it is securely fastened.
Step No. 7: Reset Light Timer On Projector
Connect your projector to an electrical outlet. Then, reset your lamp timer as directed in your device’s user manual. To determine what kind of item you have, consult your user’s handbook. For example, some manufacturers demand that you reset the light timer before turning it on. Set the light counter to zero.
Certain lamps automatically reset the counter when a fresh light is inserted. Look through the projector menus for a setting to reset the Lamp Counter back to 0 hours if your projector requires a manual reset of the lamp counter.
Step No. 8: Enjoy Your Time
Check to determine that the new bulb satisfies all of your projection requirements after turning on the projector. You may need to reopen the projector body to determine what went wrong when you changed the bulb if you notice any unexpected factors during the projection.
After a frenetic bulb change, you must carefully examine the new light by projecting it on the projector screen and contrast it with the old one to prevent any difficulty. The way the power supply wires are connected can be different. The new bulb you installed should have the same specs as the old bulb.
Get yourself a projector speaker from our Top 11 Best Speakers For Projector In 2022 and enjoy an unmatchable experience.
Frequently Asked Question
Q: Can you replace the bulb in a projector?
Yes, you can replace the bulb in a projector. If you haven’t done it before, you might think of it as something really challenging. You will be glad to know that you can do this by following 8 simple steps. These are:
Step No. 1: Start With Unplugging
Step No. 2: Get Yourself Ready
Step No. 3: Remove Projector Assembly
Step No. 4:
Q: How much does it cost to replace a projector bulb?
A standard replacement bulb can range anywhere from $100-400, while bigger or more advanced bulbs can cost upwards of $1000. It is always wise to check with your projector’s manufacturer for their recommended replacement bulb, as using a substitute may void your warranty or cause damage to the equipment.
Remember that regular maintenance and proper handling can prolong the life of your projector bulb, potentially saving you money in the long run.
Bottom Line
There you have it, 8 simple steps on how to change projector bulb. Projector bulbs are not made to last for a lifetime. They have different working lifespans and need to be replaced when needed. Regardless of that, you can change the projector bulb yourself by following this eight-step guide.
If you are confused at any step, feel free to ask in the comments. For any business-related queries, visit our Contact Us page.
That’s all we got for you today. We’ll meet you with a new topic soon. Till Then, We Are Rank Projectors. Have a good day!
Thanks for reading!
You Can Also Check:
