Do you enjoy watching movies and shows on the big screen from the comfort of your home? And who needs a movie trip when you can have your own personal cinema using a projector screen in living room, right?
With the advancements in technology and the rise in affordable projectors and home theater systems, it’s time to make your living room the ultimate hangout spot with a projector screen. In this guide, we will help you install and use a projector screen in your living room. Let’s get started!
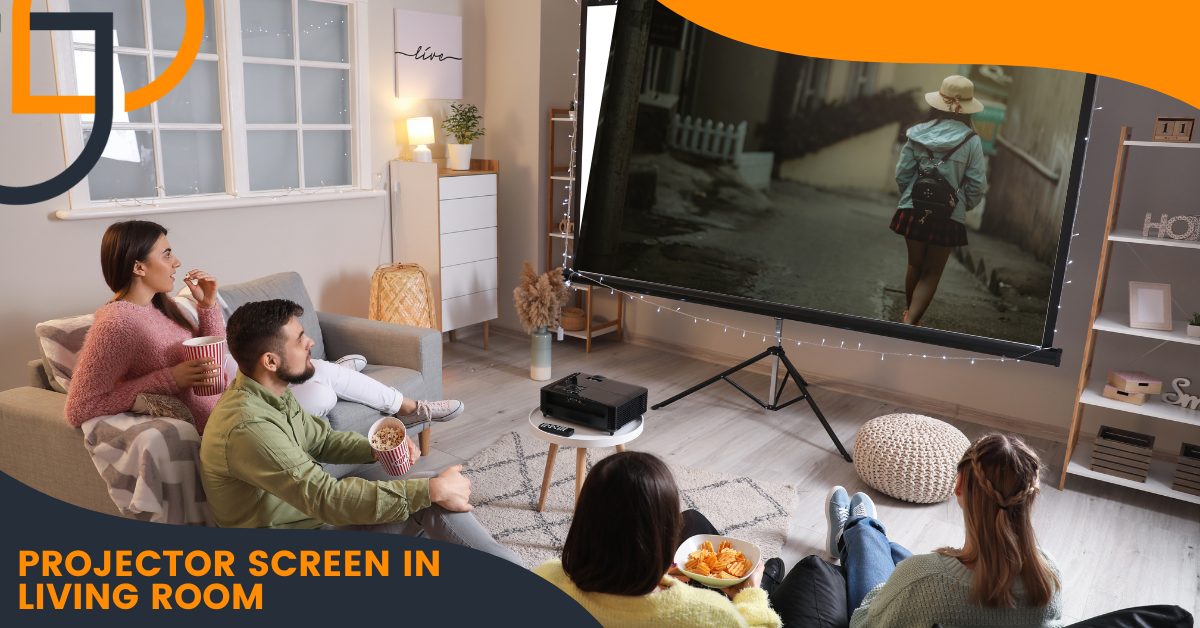
Setting Up A Projector Screen In Living Room
A projector screen in the living room can be a great way to enjoy watching movies and shows with friends and family. However, it is important to set up the projector screen in a way that ensures clear and sharp visuals.
Read more: Best 4K Projector Screen.
Below is the step-by-step guide to setup a projector in your living room:
Step 1: Access The Space
First, start by accessing the living space and deciding where to put the projector screen. It should preferably be away from direct sunlight or other sources of light. Evaluate all available space by considering the projector screen’s size, height, and width.
Besides that, considering the room dimensions, ambient lighting, and furniture is also important while selecting the spot for the projector screen. Afterward, you can easily determine your projector screen’s optimal height and viewing distance.
Step 2: Choose The Best Projector For Living Room
Once you have finalized the place, it’s time to choose the best projector for the living room. Different projector screens, such as manual, electric, portable, and fixed frame, are available. Depending on the size of your living room, you can choose the right projector screen.
Select a projector screen that offers an optimal viewing angle and can be easily mounted onto the wall or anywhere in the room. Besides that, projector screen material highly affects the image quality, so choose one that can provide clear and sharp images. Moreover, consider the contrast ratio, which is also an important part.
Step 3: Mount The Projector Screen
Here comes the most important part — mounting the projector screen. Make sure to mount the projector screen at a proper distance from your projector and ensure that it’s installed in a way that prevents it from sagging and provides a flat surface.
But where to mount the projector?
Mount On the Ceiling
If you have a ceiling-mounted projector, here, the best option is to mount the screen on the ceiling. This ensures that your projector and screen are in perfect alignment. Installing a ceiling-mounted projector can enhance your viewing experience significantly and saves a lot of space.
Read more: How To Hang A Projector From The Ceiling?
Mount On the Wall
If you use a wall-mounted projector, mount the projector screen on the wall. It is important to ensure that the projector and the screen are aligned perfectly. Besides that, it is also important to ensure enough space for your projector to be angled correctly.
Use The Coffee Table
You can use a coffee table as a stand if you don’t want to mount the projector screen on the wall or ceiling. Place the projector screen on the coffee table, then place your projector on a stable surface in front of it. This setup will allow you to angle your projector exactly how you want.
When you have mounted the projector screen, check for any cords running along the wall or ceiling and keep them out of the way. Moreover, before powering on your projector, check for any possible obstructions in the line of sight.
Read more: 11 Unique Ideas To Put Projector On Shelf.
Step 4: Set Up The Projector
Now that your projector and screen are in place, you can set up the projector. First, connect all the cables like HDMI, audio jack, and power cables to your projector. Then turn on the projector and adjust its settings according to your needs.
It is important to adjust the projector settings, such as brightness, contrast, and focus, for the best viewing experience. When you are done with the setup, it’s time to check the image quality.
Step 5: Connect The Projector To Audio/Video Sources
Once the projector screen is set up, you can connect your projector to different audio/video sources, such as projector speakers, gaming consoles, TV tuners, laptops, DVD players, and more.
Connecting it to audio/video sources can be easier or harder, depending on your projector type. But most projectors come with several ports that make it easy to connect your devices. Depending on the device you connect to your projector, you can use an HDMI cable, VGA port, or RCA cable.
Step 6: Calibrate & Adjusting The Projection
Once everything is connected, it’s time to adjust and calibrate the projection. Adjust the projector’s zoom, focus, brightness, and contrast settings. You can use the remote control or a few buttons on the projector to adjust these settings.
Once you have adjusted the settings, check if any shadows appear on the screen. If yes, you may need to move the projector or adjust its settings. Once everything is set, your projector screen is ready to use!
Step 7: Take Audio Considerations Seriously
Don’t forget to consider audio when setting up a projector screen in your living room. You can choose from several audio devices, such as sound bars, surround sound systems, and speakers.
In addition, incorporating speakers with the living room décor is important to make the audio system blend in with the room’s overall look. Sound quality highly affects your viewing experience, so choose the right audio devices for your projector screen.
Read more: Space Buddy Projector Review.
Benefits Of Using A Projector Screen In Living Room
Using a projector screen in your living room offers several benefits, such as:
Immersive Viewing
A projector screen not only offers a bigger picture than a TV, but it also gives you a more immersive viewing experience. You’ll feel like you’re in the middle of the action, whether watching a movie, watching your favorite show, or playing games. Imagine hosting a Super Bowl party with the game projected on a massive screen – your guests will be blown away.
Space-Saving
Projector screens take up much less space than a TV. You don’t need a big entertainment center or table to place your screen on. You can mount it on a wall with minimum effort; when you’re not using it, you can roll it up and store it. This means you can have a large screen without sacrificing too much space.
Flexible Screen Size
Depending on your living room size, you can choose a screen size that best suits your needs. Unlike TVs that come in limited sizes, projectors offer flexibility in screen size. You can easily adjust the projector’s placement and zoom in or out to get your desired screen size.
Cost-Effective
Believe it or not, a projector screen can be more cost-effective than a TV of similar quality. Projector systems, including screens, are much cheaper than high-end TVs. You can get the best 4k projector for your living room without breaking the bank. You can save even more money if you opt for a budget projector screen.
Read more: 3 Methods To Projector Mobile Screen On Wall Without Projector.
Projector In Living Room Ideas
If you’re looking for some creative projector in living room ideas, then consider these options:
- Hang a projector from the ceiling over your seating area to create an immersive theatre-style experience.
- Place the projector on a shelf and cover it with a cloth to match your décor.
- Install the projector on the wall for a modern look.
- Use a retractable projector screen to save space and maximize viewing angles.
- Use mirrors to display images on the wall or ceiling for an interesting visual effect.
Frequently Asked Questions
Q: Can you use projector screen in living room?
Yes, you can use a projector screen in your living room. It is an excellent way to create a home theater experience or enjoy large-screen entertainment in a comfortable setting. To achieve the best results, ensure the room has adequate space, proper lighting control, and suitable wall or ceiling mounting options for the screen and projector.
Q: Is projector screen good for living room?
Yes, a projector screen can be a great addition to a living room, providing an immersive viewing experience for movies and games. Ensure you have adequate space, lighting control, and a suitable sound system. If you are new, make sure to learn how to mount projector screen.
Bottom Line
A projector living room setup can transform your living room into a home theater for an immersive viewing experience. Installing a projector in the living room instead of a TV offers flexibility, cost-effectiveness, and aesthetic appeal. You can transform your living room into a movie theater experience with the right projector screen and accessories.
A projector screen is a perfect addition, whether you’re having a quiet night with the family, hosting a game night, or throwing a party. With the right setup, you can take your living room entertainment to the next level. So go ahead and get a projector screen for your living room now!
That’s all we got for you today. We’ll meet you with a new topic soon. Till Then, We Are Rank Projectors. Have a good day!
Thanks for reading!
You Can Also Check: